
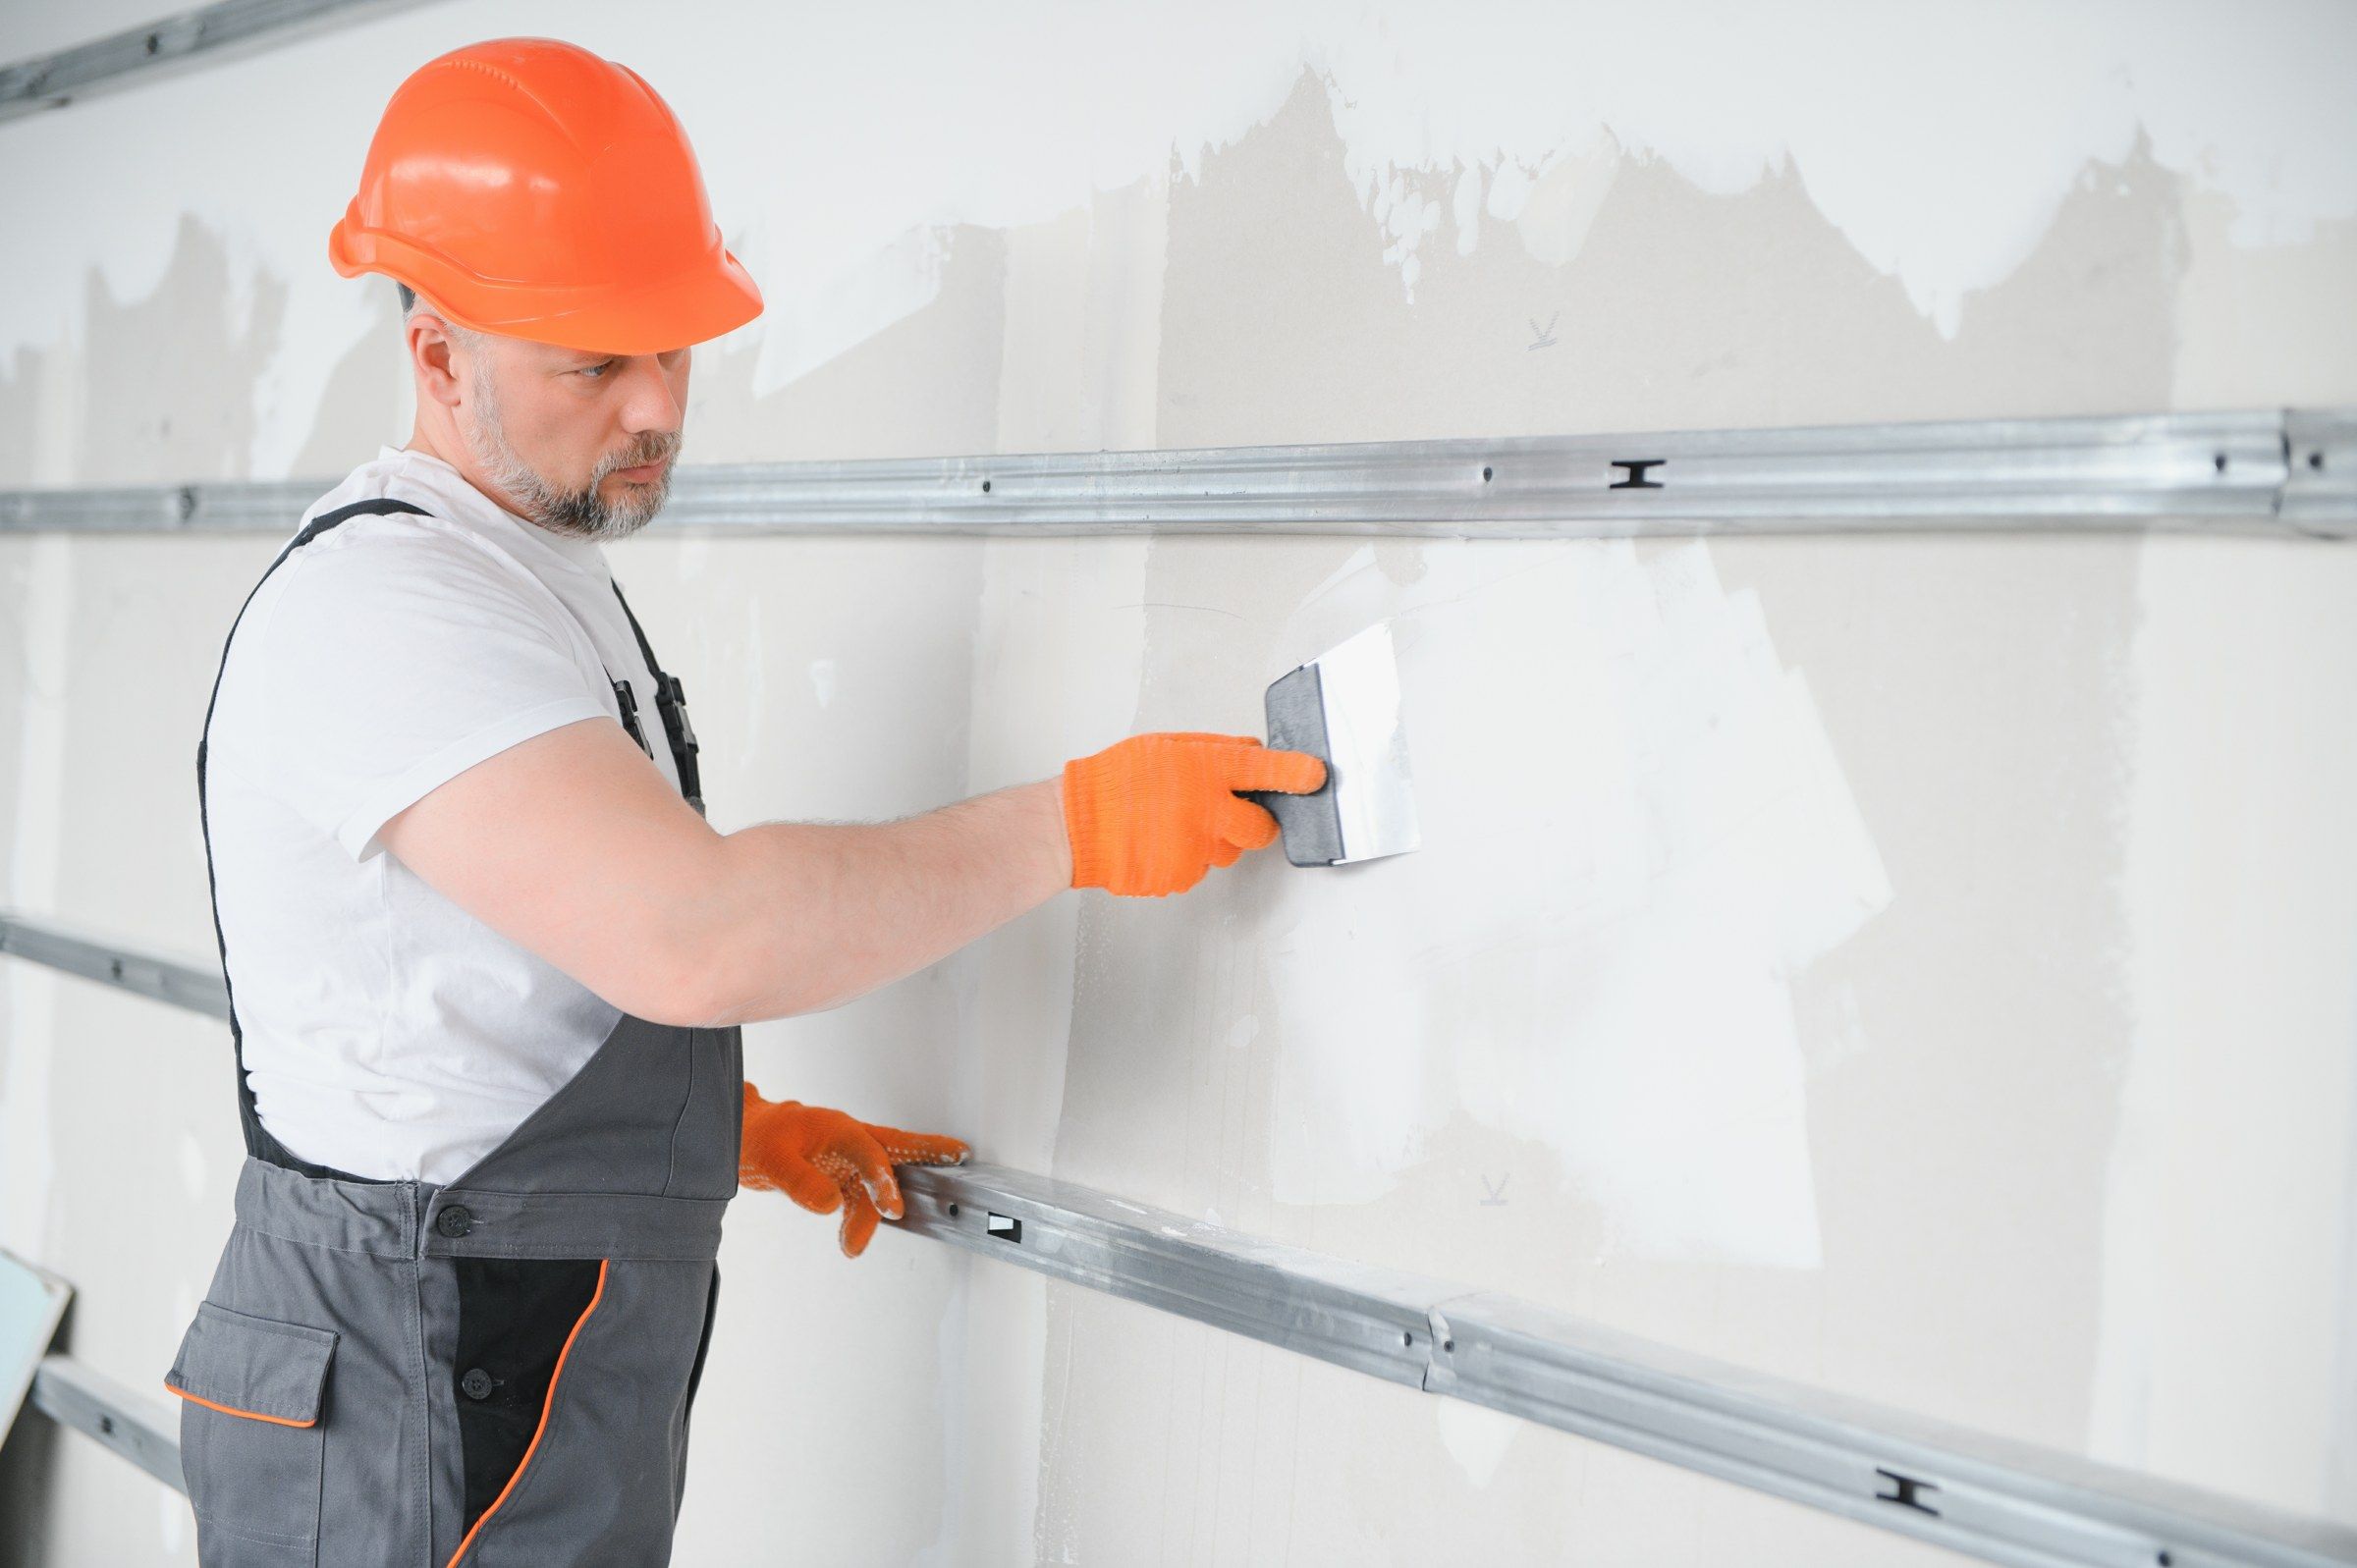
Drywall finishing in Waukesha
The finish level decides how the wall looks under paint. We help you pick the right one and then deliver it.
Get a free estimate- Levels offered
- Level 2 through Level 5
- Textures
- Smooth, orange peel, knockdown
- Checked with
- Raking work light before sign-off
Paint does not hide drywall. It shows it. Whatever is on the surface when the roller comes out is what you live with: every ridge, every scratch, every joint that was one coat short.
Finishing is the stage that sets that surface. We finish new board, upgrade walls that were left rough, and skim coat over old texture and repairs.
The levels, briefly
Level 2: tape and one coat. Garages and tile backer. Level 3: two coats, for walls getting heavy texture. Level 4: three coats, sanded. This is the normal standard for painted rooms.
Level 5 is Level 4 plus a thin skim across the entire surface. It makes the paper and the joints take paint identically. Use it where light is harsh or paint is shiny.
When to step up to Level 5
Sun along the wall
Windows at the end of a long wall.
Eggshell, satin or gloss
Sheen shows joints.
Dark colors
Deep paint shows every wave.
Wall washers and cove lights
Light skimming the surface.
Removing old texture
Skim coating over a wall you want smooth.
Our routine
Set the spec
Finish level agreed room by room.
Build the coats
Each coat dry before the next.
Skim
Full-surface coat where Level 5 is called for.
Sand under light
A lamp against the wall shows what to fix.
Touch up and clean
Marked spots corrected, dust removed.
Compounds and texture
Topping compound for final coats because it sands fine and leaves no pinholes. Skim coats go on with a roller and wide blade or a trowel.
For texture we spray orange peel and knockdown and can hand-trowel a skip finish. A sample board comes first. For smooth walls, start painting with a high-build drywall primer.
What a good finish does
Makes paint look better
An even base gives an even coat.
Hides the joints
In any light.
Opens your options
Any color, any sheen.
Saves rework
Cheaper now than fixing it after paint.
What sets the price
Finishing is priced by level and area. Light and paint decide the level.
Level chosen
Level 4 is the standard for flat paint. Level 5 adds a full skim coat over every square foot.
Lighting
Long windows, skylights and wall-washing fixtures show everything. Those surfaces need the higher level.
Paint sheen
Flat hides. Eggshell shows more. Satin and gloss show all of it.
Starting point
Fresh taped board is one thing. Old walls with patches, cracks and paint ridges need repair before any skim.
Ceilings
Ceilings in open rooms are the hardest surface to finish and the first place the eye goes.
Picking the right level by room
You do not need Level 5 everywhere. A typical house does well with Level 5 on the main-floor ceilings and the walls that face big windows, and Level 4 in bedrooms, closets and halls with ordinary light.
Walk the house in the afternoon when the sun is low. Look along the walls, not at them. Anywhere you can see light skimming down a surface is a place where joints will show under a lower finish.
Dark colors change the answer. Deep blues, greens and charcoals reflect like a mirror compared with off-white, and they show ridges that pale paint hides. If a feature wall is going dark, finish it higher.
Where finishes go wrong
Narrow joints
Compound kept tight to the tape leaves a ridge. Width is what makes a joint vanish.
Photographing
Joints that show through paint as a different sheen. Caused by skipping primer or by uneven porosity on a Level 4 wall under critical light.
Sanding scratches
Coarse paper leaves lines that paint will not fill. Final sanding is fine grit with a light behind it.
Dust left on
Paint over sanding dust does not bond. Walls get wiped down.
Tell us the paint before we start. Brand does not matter. Sheen and color do.
After we finish, prime with a drywall primer and look again in daylight before color goes on. Primer shows small flaws while they are still a two-minute fix.
The levels in plain terms
Level 1
Tape set in compound. Nothing more. Used above ceilings and in spaces nobody sees.
Level 2
Tape plus one thin coat. Common in garages and behind tile.
Level 3
Tape plus two coats. Meant for walls that will get a heavy texture.
Level 4
Tape plus three coats, sanded smooth. The standard for flat paint in normal light.
Level 5
Level 4 plus a skim coat over the entire surface. For gloss, dark colors and raking light.
On existing walls the word finishing covers a different job. Old surfaces carry years of patches, roller texture and paint ridges. Bringing them back to flat means scraping, filling and skim coating the whole wall, sometimes twice. It is closer to resurfacing than to finishing new board.
Skim coating is also how a textured wall becomes a smooth one. The texture is knocked down, then filled level in two or three passes. It costs more than finishing new board because there is more to fill, and it transforms a dated room.
How to inspect a finish
Use a light. Hold a bright work light close to the wall and aim it along the surface. Joints, ridges, scratches and pinholes all throw a shadow. Do it before primer and again after.
Use your hand. Run a flat palm across each joint. You should not feel where it starts or stops. Outside corners should feel straight with no edge of bead.
Look from the doorway. Stand where people will stand and look toward the windows. That is the view that matters, and it is the view we finish for.
Mark what you find with a pencil, lightly. Do not use pen or marker. Ink bleeds through paint. We go back over every mark before calling the job done.
Good to know
Finishing is also the cheapest stage at which to change your mind. If you see the primed walls and decide a ceiling needs the higher level after all, a skim coat can still be added. Once the color is on, the same change means sanding back paint first.
Lighting upgrades after the fact are the usual surprise. A wall that looked perfect under one ceiling fixture shows its joints the week someone installs a row of recessed lights eighteen inches from it. If new lighting is planned, tell us where it is going.
New finishes cure for a while after they feel dry. Hold off on hanging heavy pictures or pressing furniture against fresh walls until the paint has had a few weeks.
Before and after
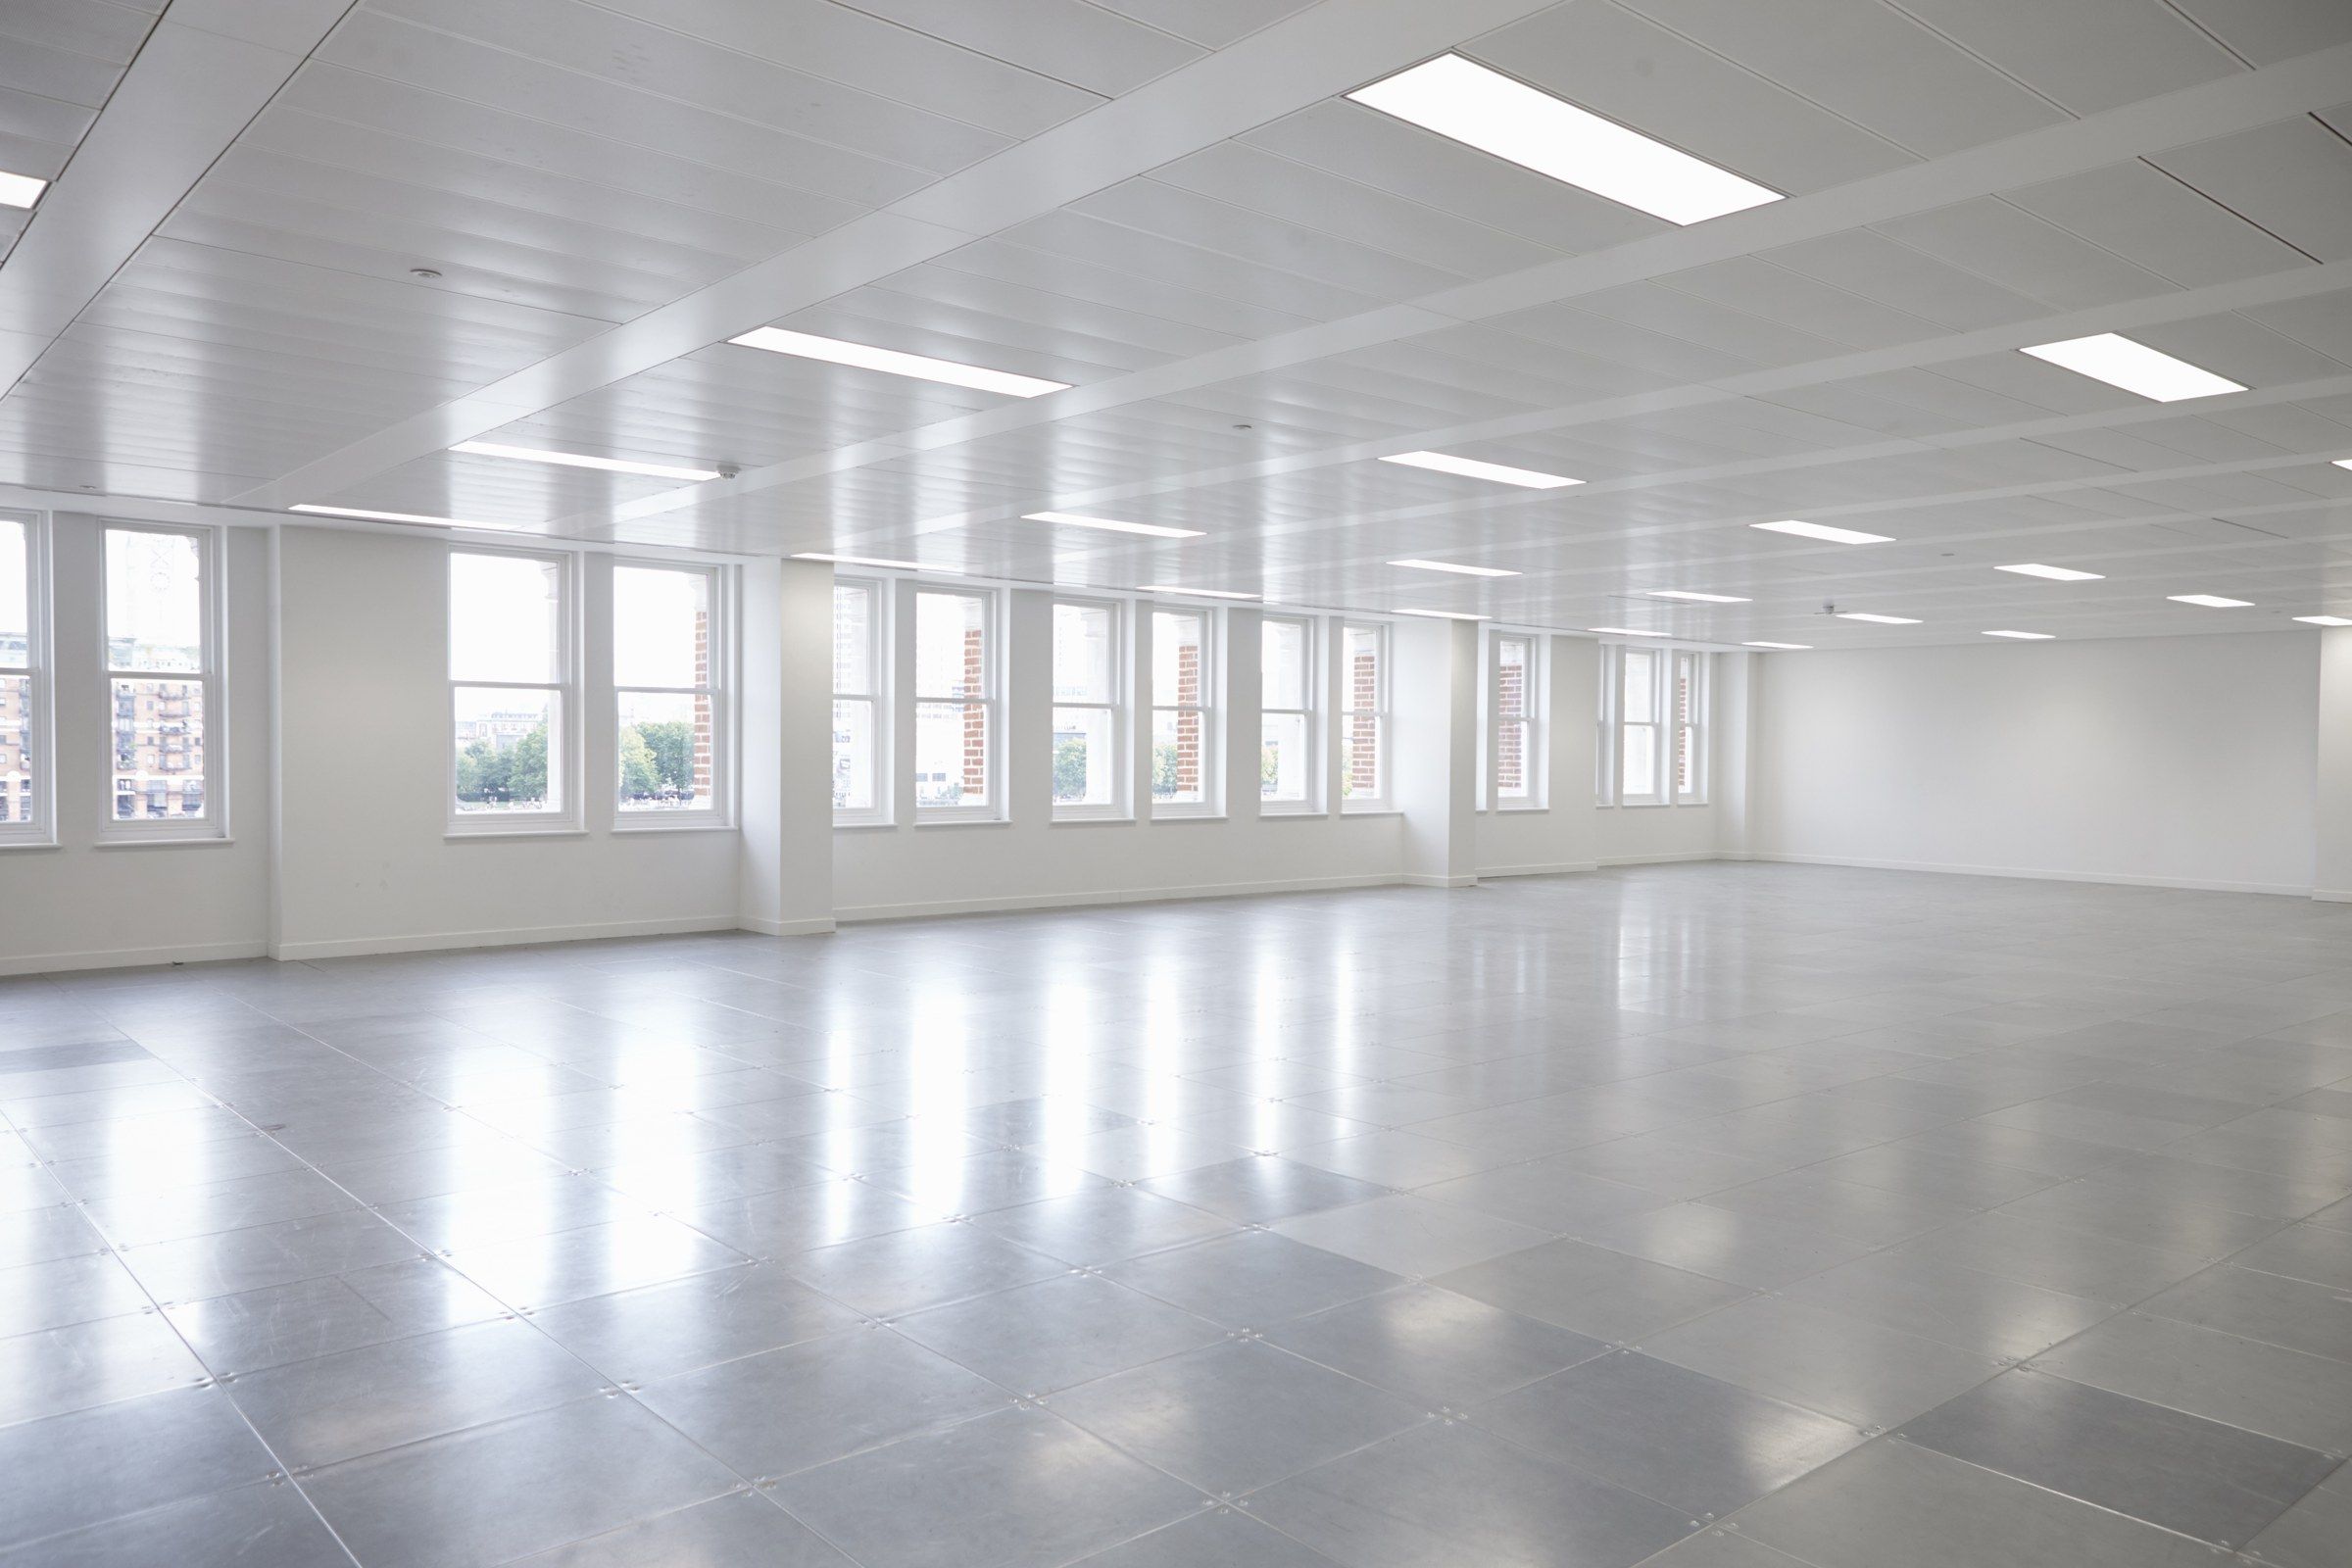
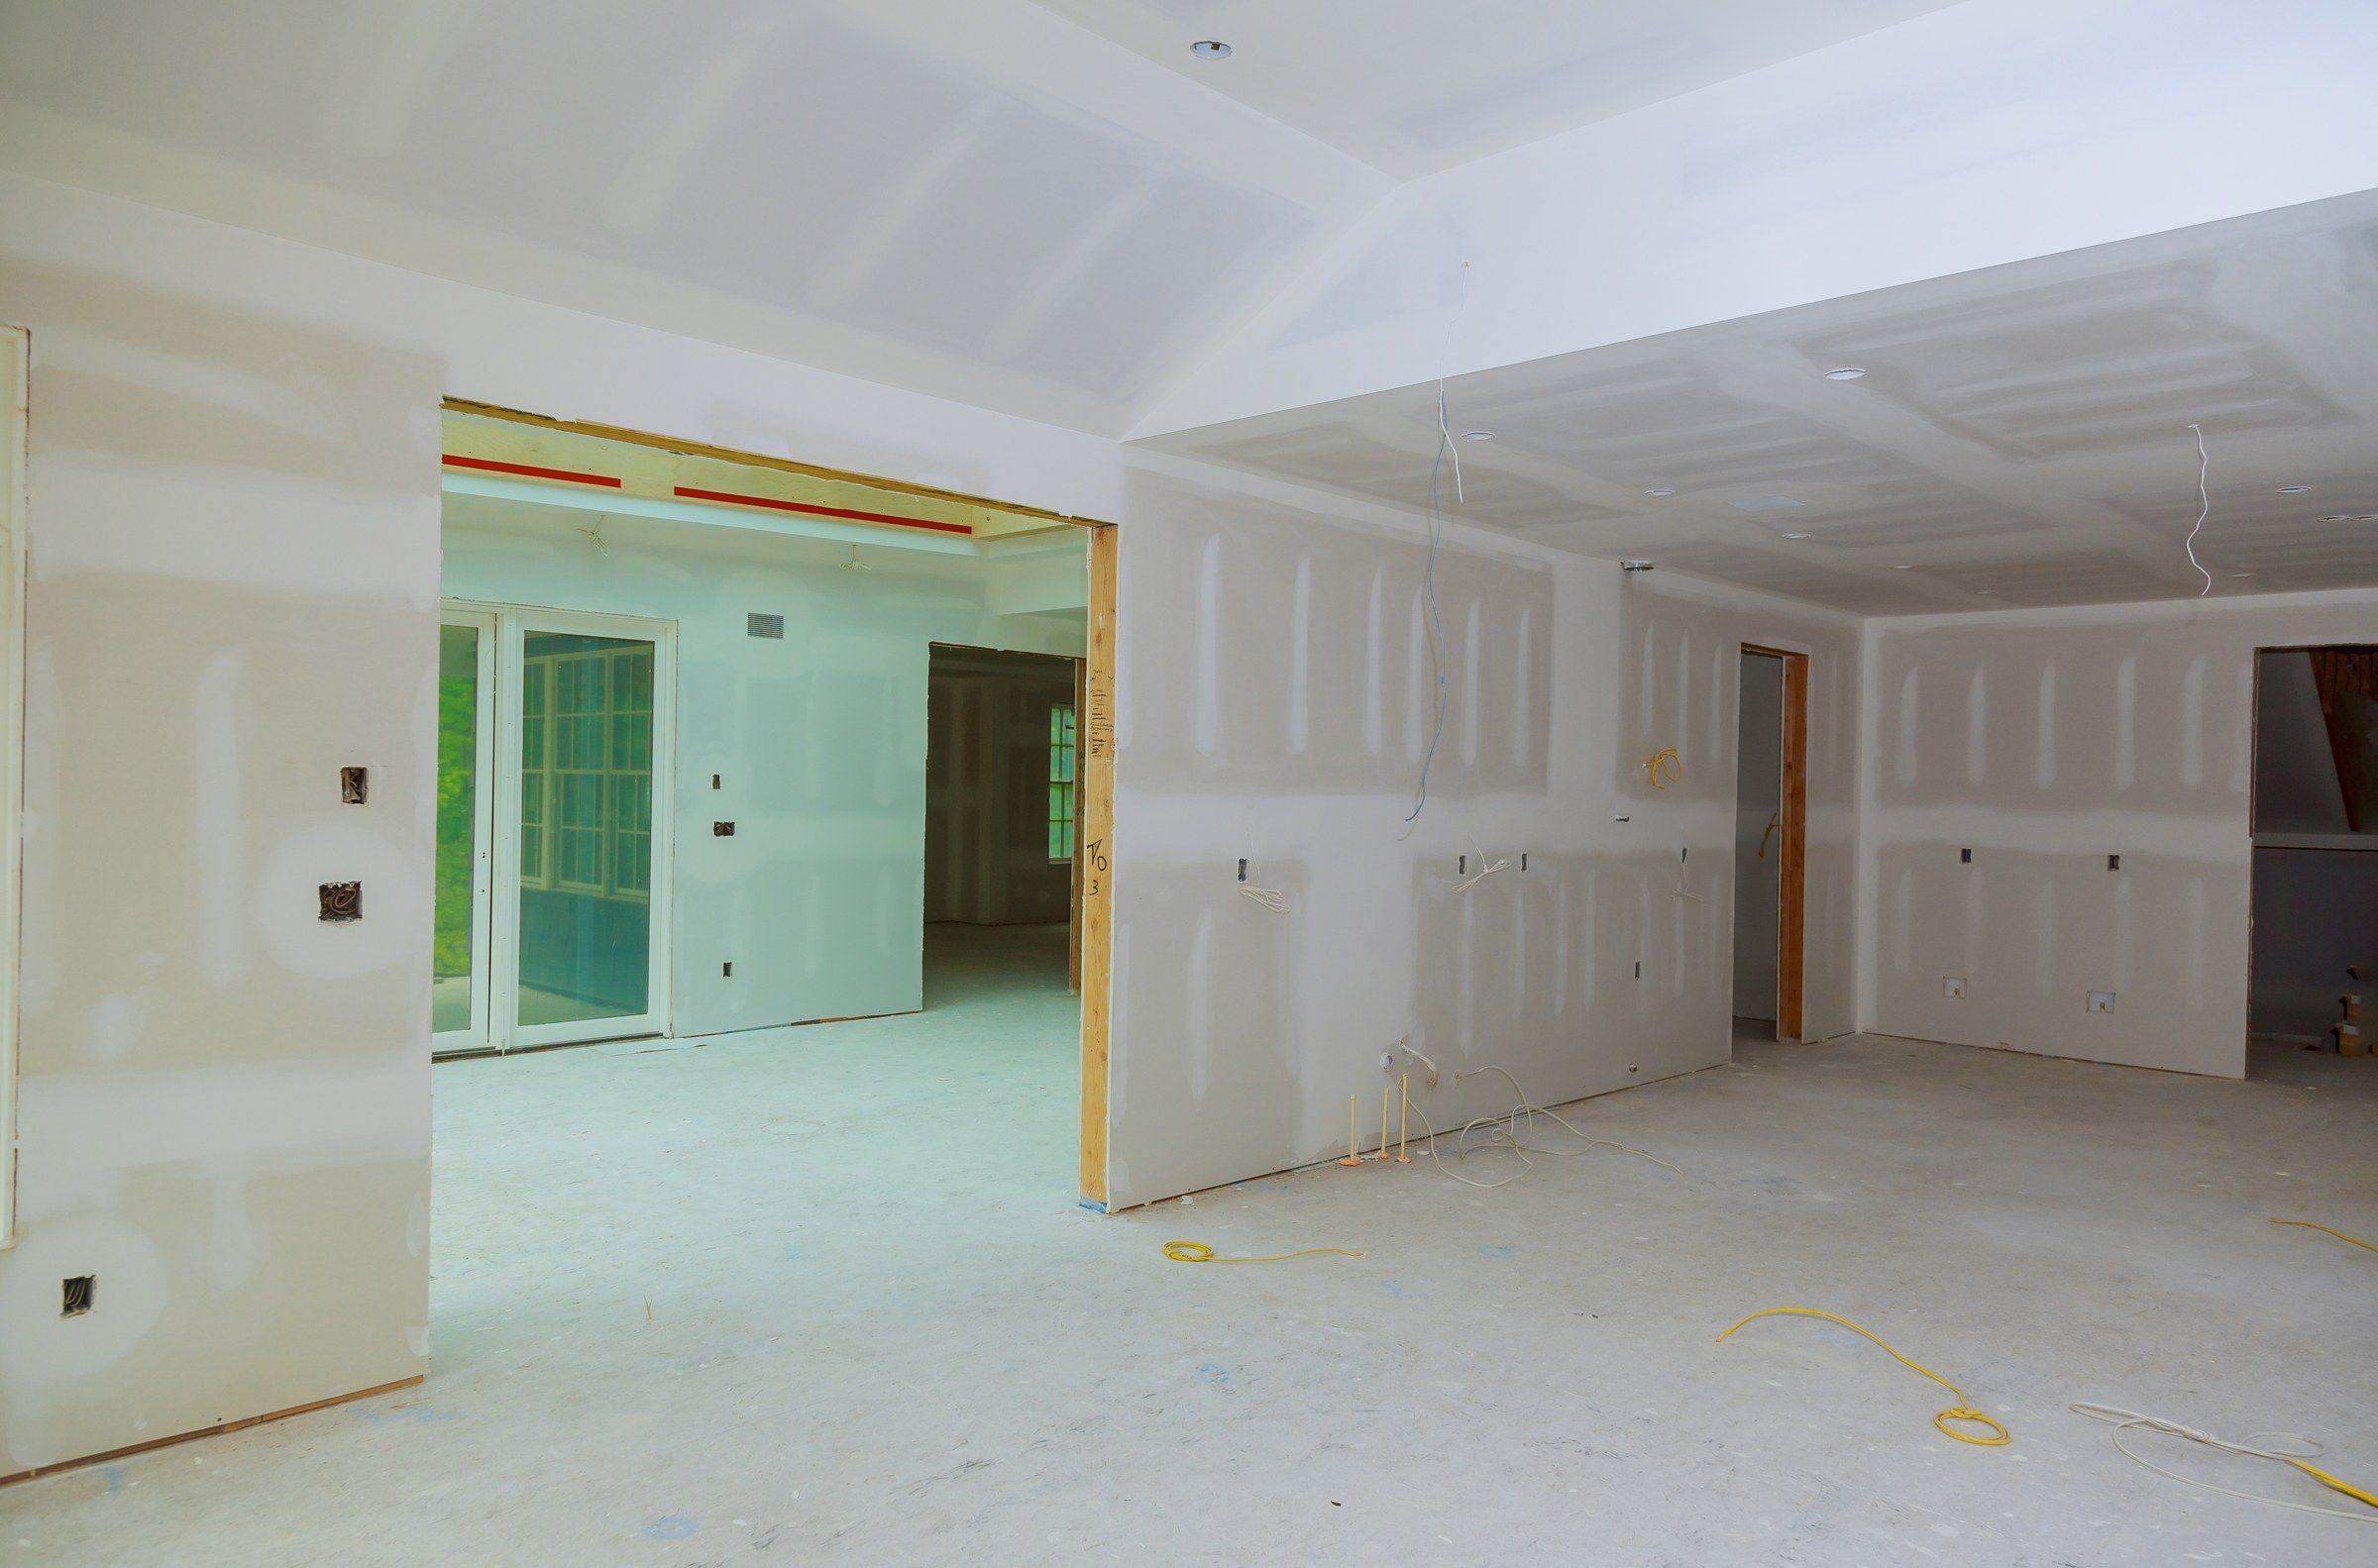
Stock photos used to illustrate the change. Not a specific project of ours.
Finishing in Waukesha homes and offices
Open floor plans are everywhere in newer Waukesha construction. Long walls, tall windows and rows of recessed lights make a basic finish look worse than it is.
Offices have the same issue under continuous strip lighting. We look at the lighting plan before recommending a level, at home or at work.
Questions about drywall finishing
Is Level 5 worth the extra cost?
In bright rooms and with shiny or dark paint, yes. In a closet or a dim hall, no. We will tell you which rooms need it.
Can you smooth my textured walls?
Yes. Skim coating fills the texture and leaves a flat wall. It takes two or three coats.
What causes joints to show through paint?
Compound and paper absorb paint differently. A skim coat or a high-build primer evens it out.
Do you spray texture?
Yes. Orange peel and knockdown, on walls and ceilings.
Can you finish over someone else’s taping?
Yes, after checking it. Poor base coats take extra work to bring up.
Work that often goes with this
Drywall Taping & Mudding
Tape, three coats and sanding on board that is already hung.
DetailsDrywall Installation
Board measured, stocked and hung on wood or steel framing.
DetailsPopcorn Ceiling Removal
Old sprayed texture removed and the ceiling finished smooth.
DetailsCommercial Drywall Services
Steel framing, rated walls and finish work for offices, shops and industrial space.
DetailsGet a price for drywall finishing in Waukesha
Describe the job, add a photo, and we will send a written estimate.