
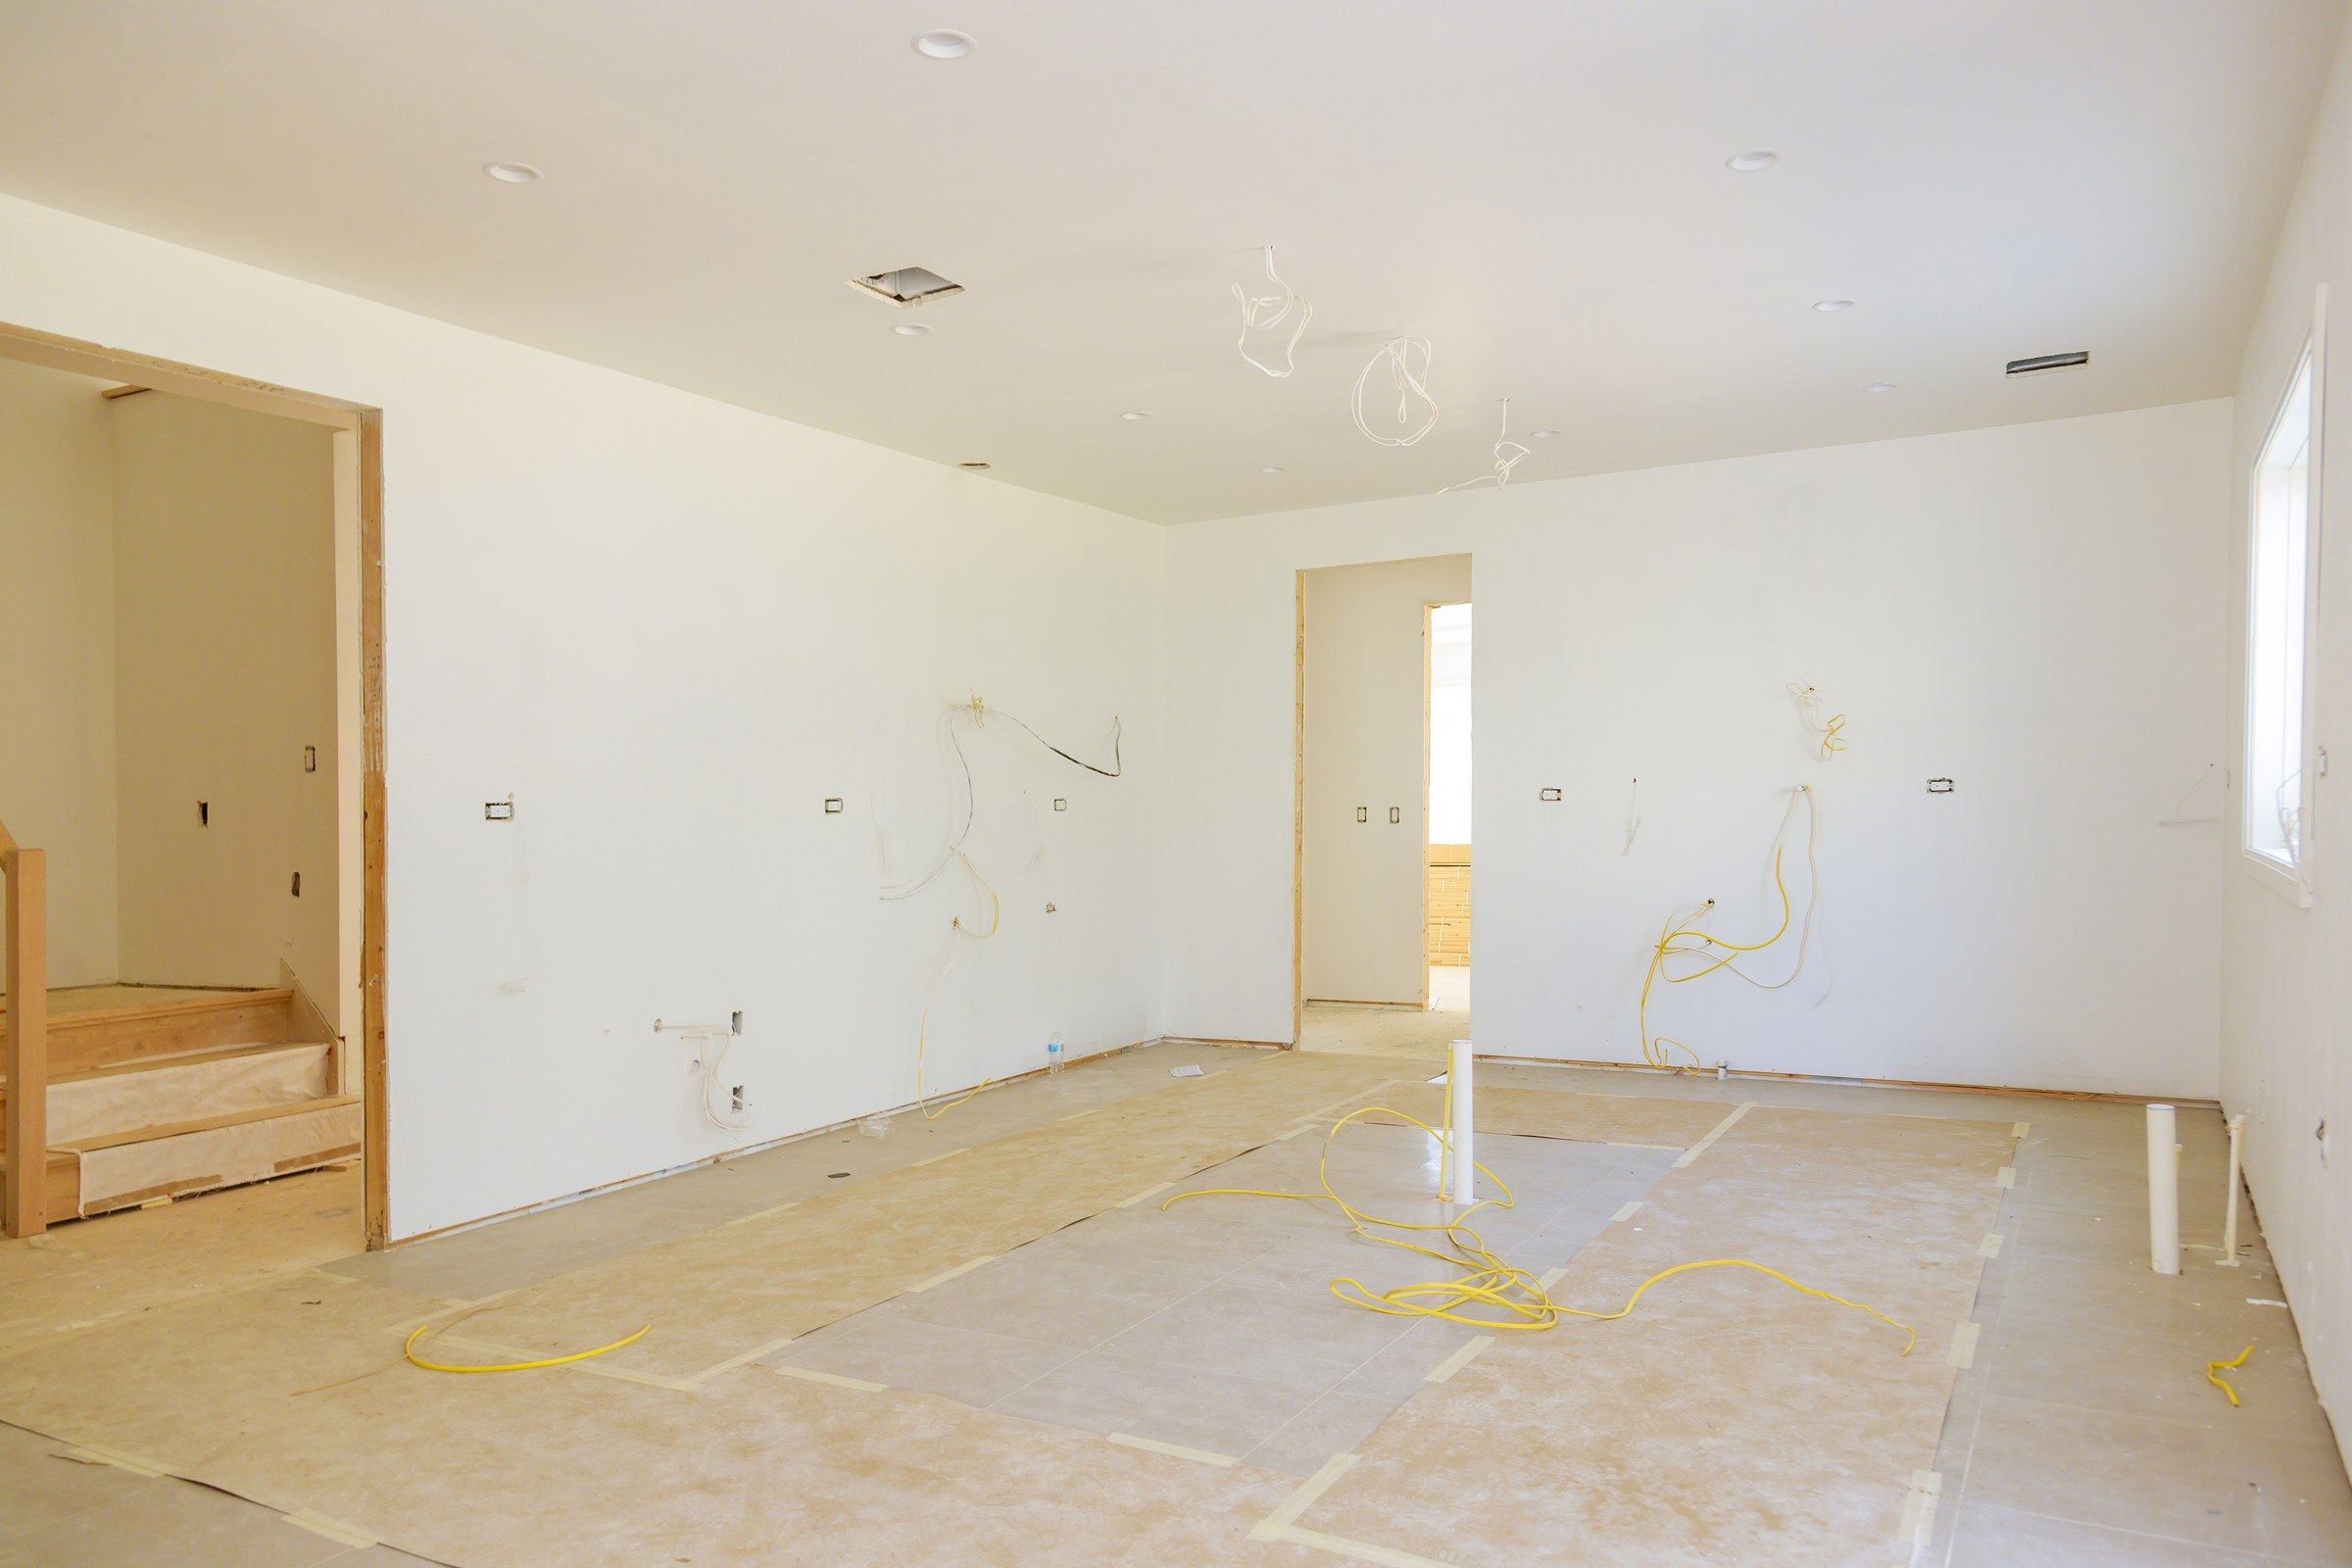
Residential drywall services in Waukesha
Remodels, additions and new construction. We put the walls back so the rest of the project can finish.
Get a free estimate- Typical projects
- Kitchens, baths, additions, whole-house board and finish
- Standard finish
- Level 4, with Level 5 available for critical rooms
- Single room
- About a week from hanging to paint-ready
Every remodel reaches the same point. The framing is done, the wires and pipes are in, the inspector has signed off, and the house is a set of open stud walls. Nothing else can move until drywall goes up.
That is our part. We hang the board, tape it, finish it and sand it. Then the painter, the trim carpenter and the flooring installer can get in. We do this for homeowners running their own project and for remodelers who need a dependable drywall crew.
What the job includes
Measuring and ordering the right board for each room. Stocking it in the house. Hanging ceilings and walls with screws. Taping every joint and corner. Three coats of compound, sanded. A final check with a work light, and clean-up.
We also handle the awkward parts of remodel work: meeting old walls that are not flat, matching an existing texture, and closing the holes left where wiring or plumbing was fished through finished rooms.
Jobs homeowners call about
Kitchen and bathroom gut jobs
New board once cabinets, plumbing and wiring have moved.
Room additions
New space boarded and blended into the existing house.
Finished attics and bonus rooms
Sloped ceilings, knee walls and a lot of angles to tape.
New homes
Complete board and finish for builders and owner-builders.
Plaster to drywall
Failing plaster removed or covered and replaced with a flat surface.
How it goes
Measure and quote
We see the space and give you a written price and timeline.
Cover and contain
Floors protected, the work area closed off, vents covered.
Hang
Ceilings first, then walls. Usually a day or two.
Tape and coat
Three coats over several days, each fully dry before the next.
Sand and check
Sanded with a vacuum sander, inspected, touched up, cleaned.
Board for each room
Half-inch board on most walls. A stiffer ceiling board, or 5/8-inch, overhead so it stays flat. Moisture-resistant panels in baths and laundry rooms. Fire-rated 5/8-inch on the garage side of the house. Cement board, not drywall, inside a shower.
Joints are taped with paper and finished with three coats. If a room has big windows or you plan a paint with some sheen, ask us about Level 5. It adds a skim coat over the whole wall and hides what a standard finish cannot.
Why it is worth doing well
Paint goes on evenly
No bands or shiny spots where the joints are.
Corners stay sharp
Proper bead and tape hold up to daily knocks.
The schedule keeps moving
Your other trades get the room when promised.
Less mess to live with
Dust stays in the work area and leaves with us.
What sets the price
Two houses with the same square footage can price very differently. These are the reasons.
Ceilings
Ceilings take longer than walls. Vaulted ceilings and stairwells take longer again because of staging.
New board or repair
New board is priced by area. Repairs are priced by time, and most of that time is blending the repair into the old wall.
Finish expectation
A smooth ceiling under strong daylight needs more coats than a closet. Tell us where it matters most.
Texture
Matching an existing knockdown or orange peel takes test passes. Smooth walls are simpler to blend.
Occupied or empty
Working around furniture, pets and a daily routine is slower than working in an empty house. Both are fine. The plan is different.
Notes from working in houses
Older homes in Waukesha often have more than one wall type. Plaster in the original rooms, drywall in the addition, paneling in the basement. Where two meet, the joint needs a different approach than a normal seam, or it cracks along the line within a season.
Newer homes have their own pattern. Framing lumber dries out over the first few winters and pushes screws outward. Trusses lift in cold weather and open a hairline where ceiling meets wall. This is normal movement. It is best repaired after the house has been through a full heating season or two.
Most residential work happens around a family that still lives there. We set up dust control at the door of the room, protect the floor on the path in, and clean up at the end of each day. You should be able to use the rest of the house as usual.
Problems we get called to fix
Humped patches
Too much compound in too small an area. It has to be cut back and feathered wide.
Cracks that return
Filled without tape. Any crack that follows a joint needs tape or it comes back.
Flashing
A repair painted without primer. It shows as a dull patch in side light.
Mismatched texture
A smooth patch on a textured wall. The texture has to be rebuilt over the repair and blended outward.
Your part is simple. Clear the area, tell us what caused the damage, and tell us what the walls will be painted with. Paint sheen changes how fine the finish must be, and it is much easier to finish for satin than to discover satin after the fact.
Plan for primer. Every repair and every new sheet should be primed before the finish coats. It is the step that makes new work and old wall take paint the same way.
Decisions to make before we start
Smooth or textured. If the house has textured walls and you are doing one room, matching is usually the right call. If you are redoing a whole floor, this is the moment to go smooth if you have wanted to.
How far to take the paint. A repair can end at primer, and you or your painter take it from there. Decide who is painting and when, so the wall does not sit unprimed for weeks.
What else is behind the wall. If you have been meaning to add an outlet, move a switch, run a cable or insulate an outside wall, do it while the board is off. Opening a finished wall a second time doubles the drywall cost of the project.
Which rooms come first. In a lived-in house we work in an order that keeps a bathroom, the kitchen and a bedroom usable at all times.
Before and after
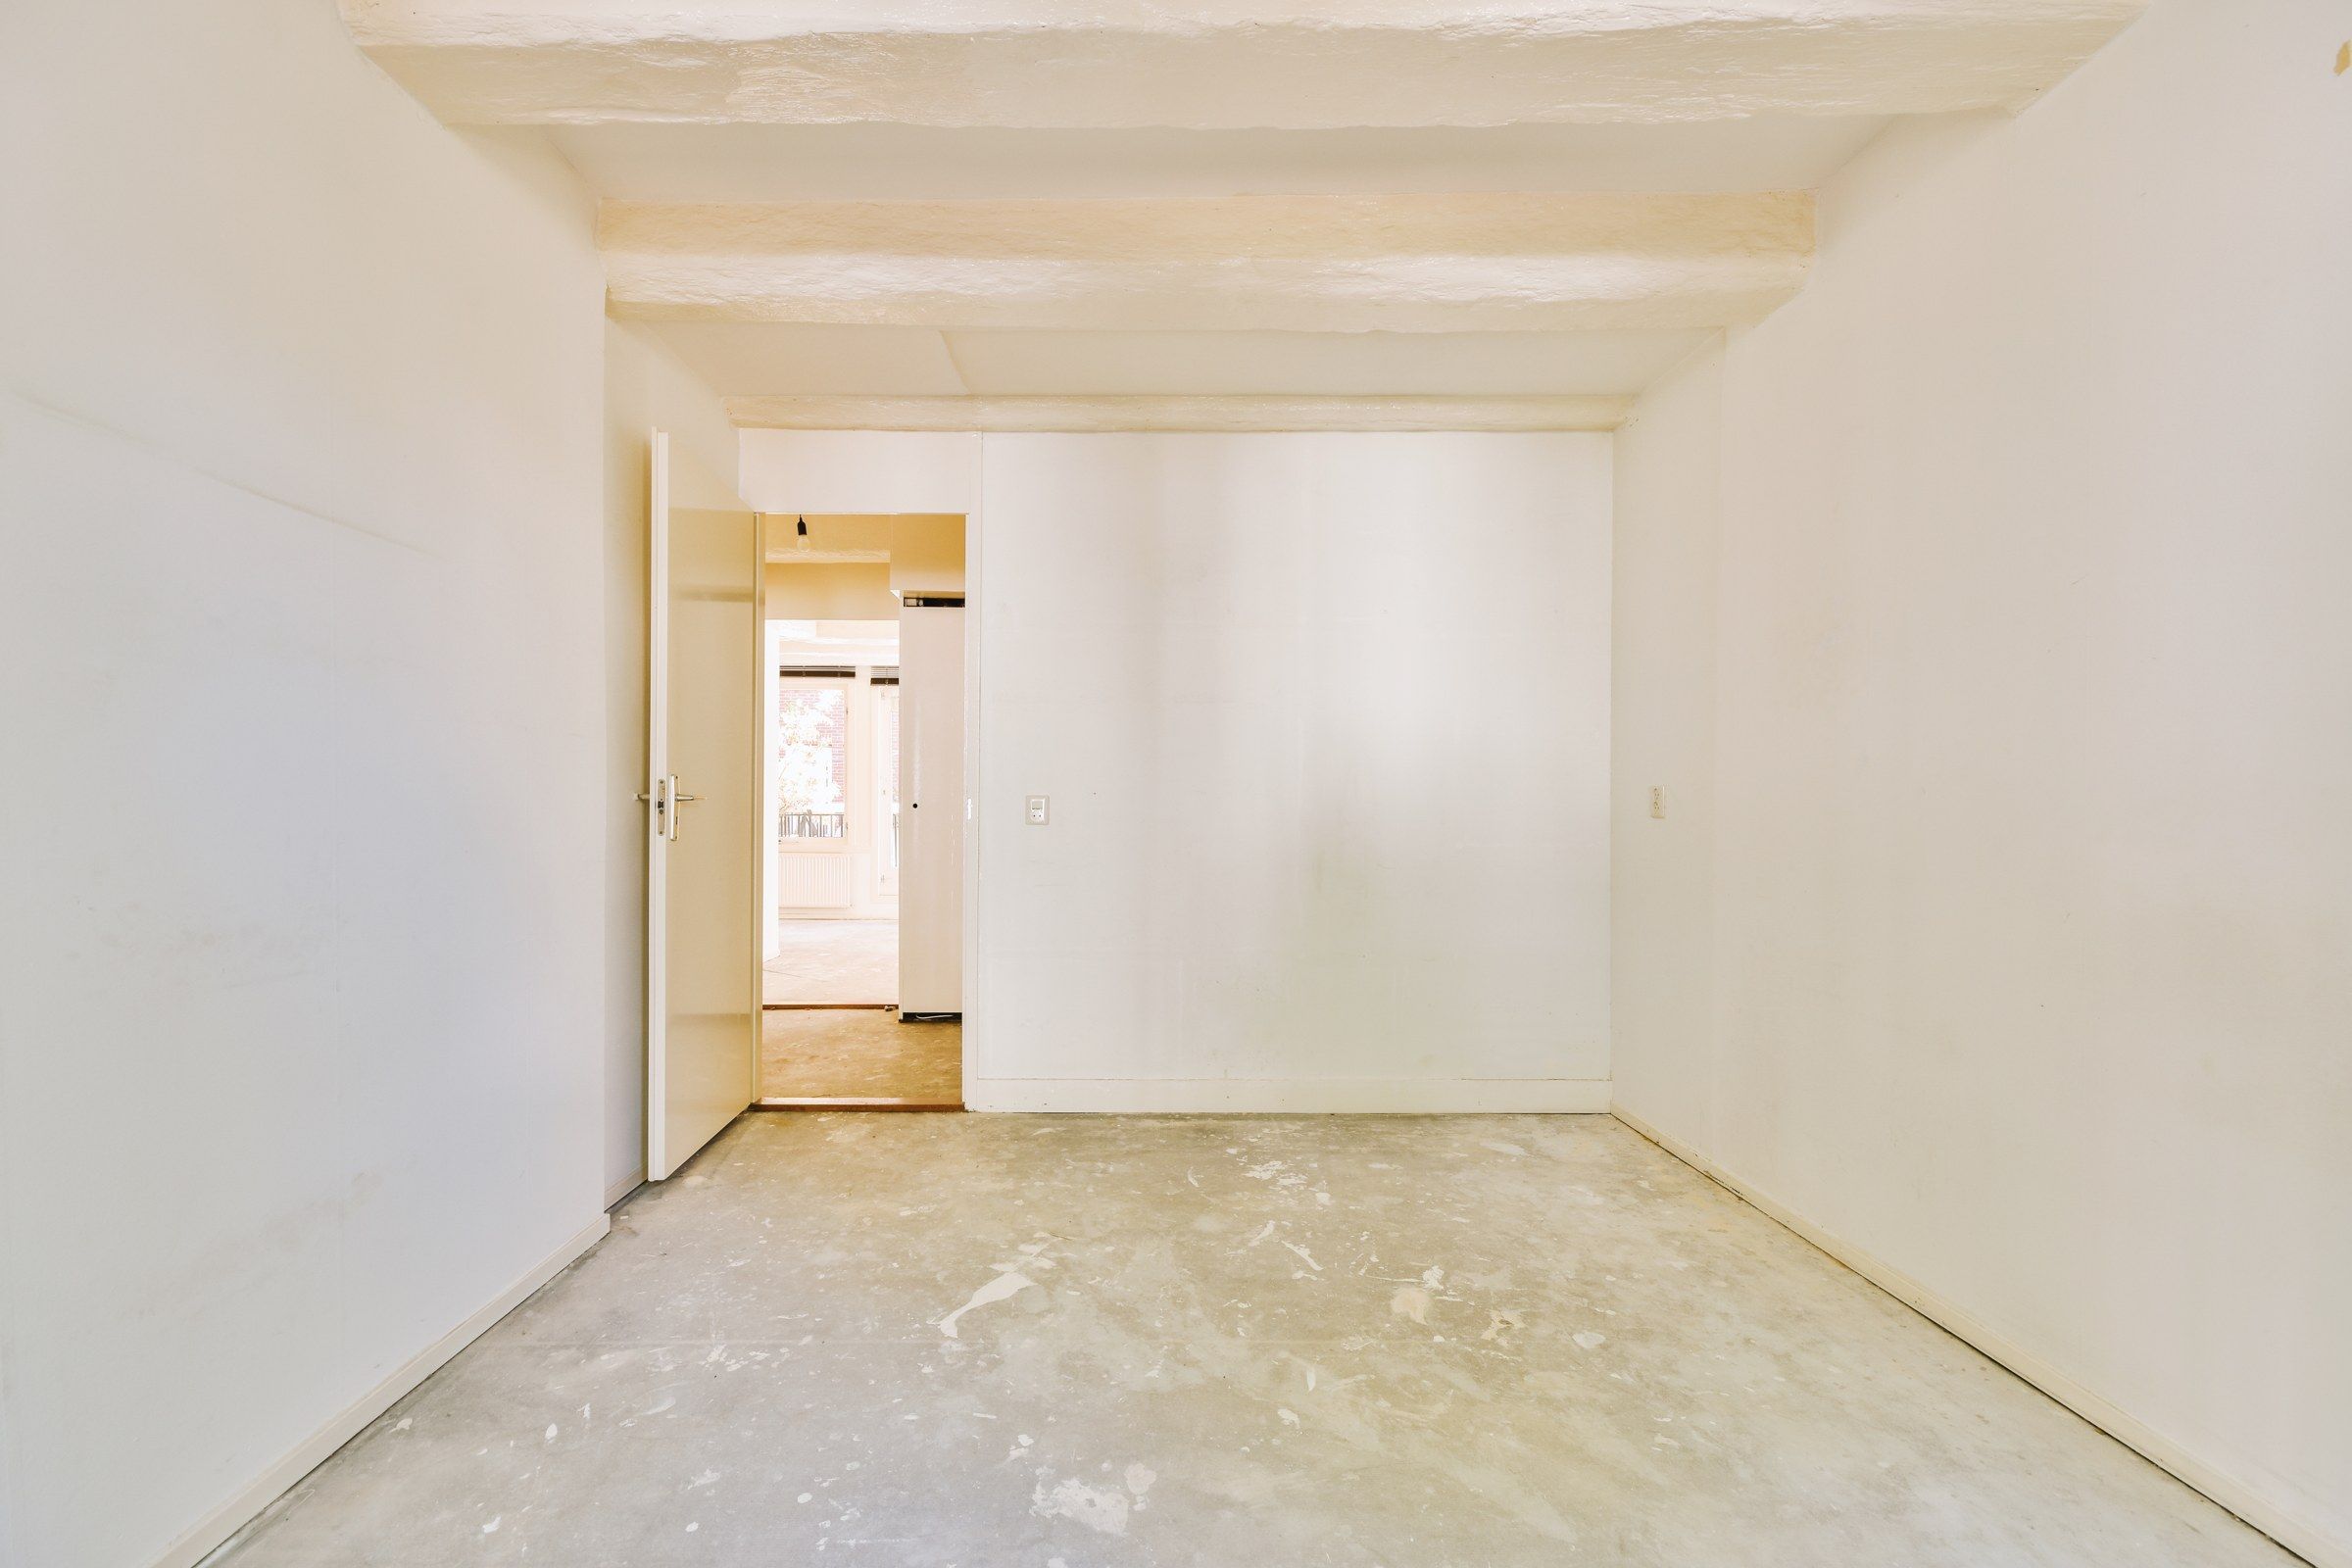
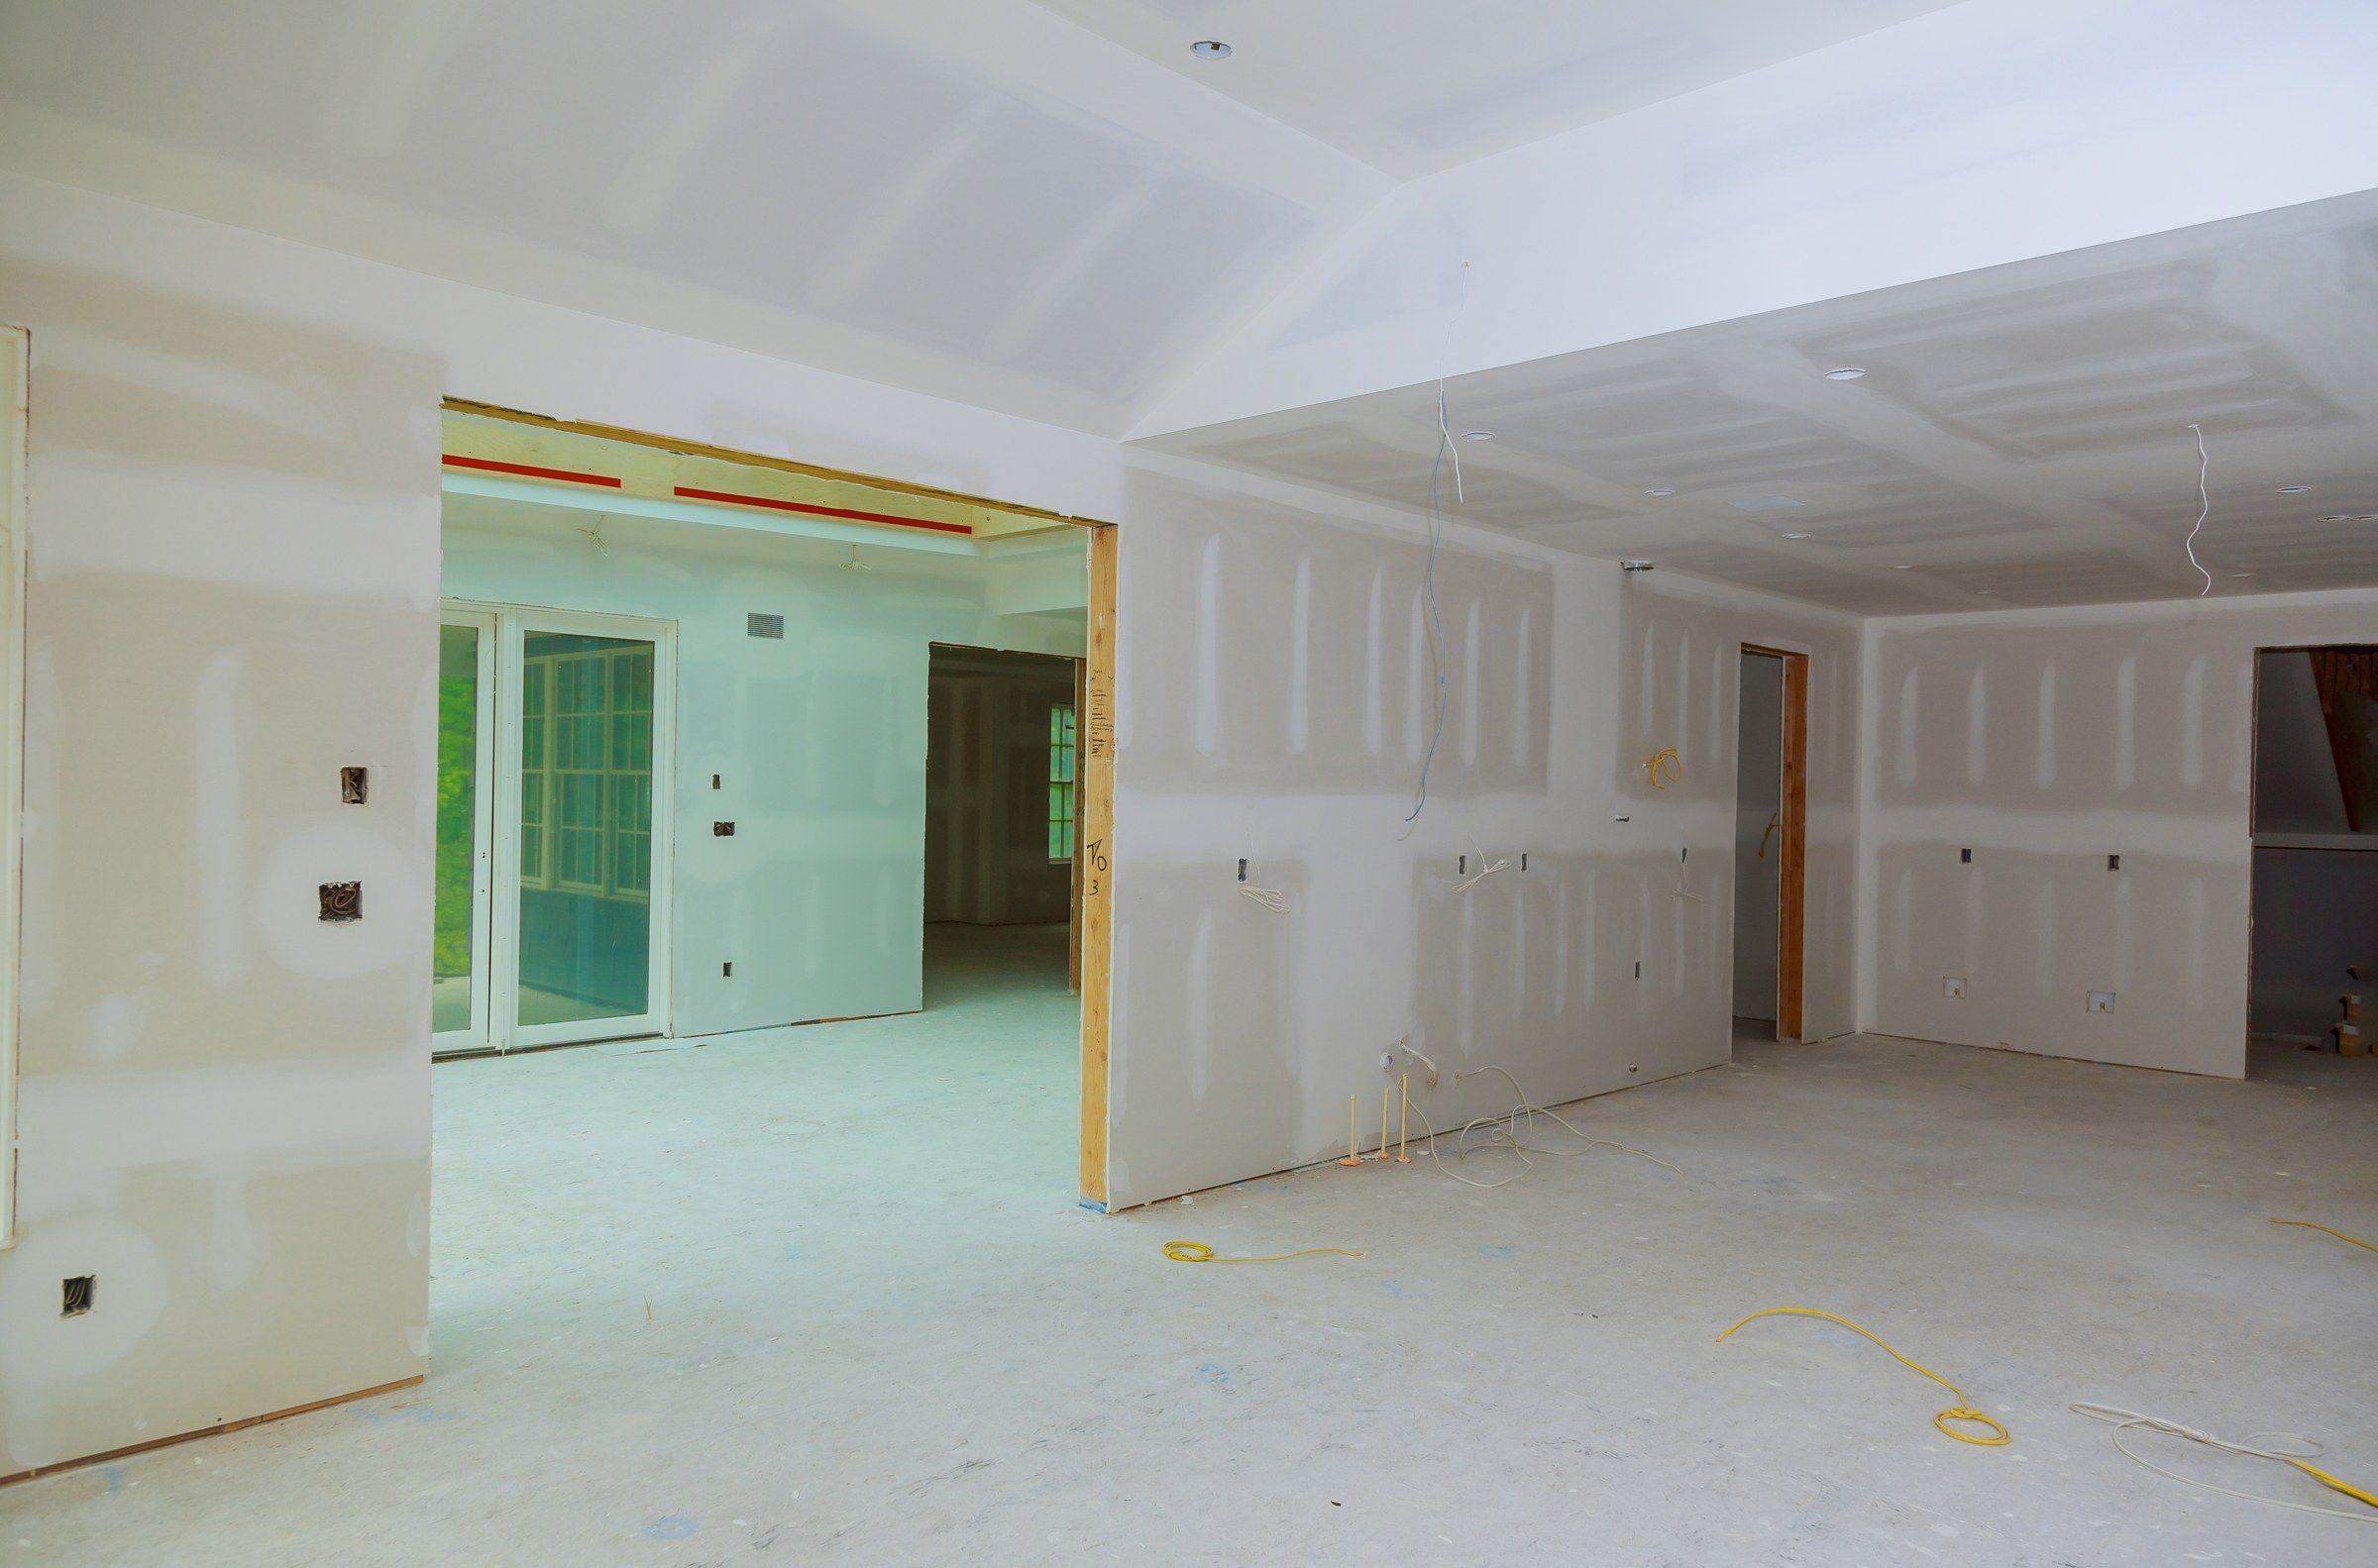
Stock photos used to illustrate the change. Not a specific project of ours.
Homes around Waukesha
Waukesha is an old city with new edges. Near downtown and Carroll University there are houses from the late 1800s and early 1900s with plaster on wood lath. South and west there are mid-century ranches and split-levels. Out toward the city limits are subdivisions built in the last thirty years.
Each era brings its own drywall work. In the oldest houses we are often blending new board into thick plaster. In the ranches it is cracks and dated texture. In newer homes it is basements and nail pops. We see all three in an ordinary month.
Questions about residential drywall services
Do I need to move out during drywall work?
No. For a room or two, we seal off the area and you carry on living in the rest of the house.
How soon can you start?
It depends on the season and the size of the job. We give you a start date with the estimate and keep to it.
Will you work with my contractor?
Yes. Many of our jobs come through remodelers. We fit into their schedule and deal with them directly if you prefer.
Can new drywall be joined to old plaster?
Yes. The joint is shimmed flush, taped with a setting compound and feathered wide so the change does not show.
What happens to the scrap?
We haul away our own off-cuts and debris. It is part of the job.
Work that often goes with this
Drywall Installation
Board measured, stocked and hung on wood or steel framing.
DetailsBasement Drywall Installation
Walls, ceilings and soffits for finished lower levels.
DetailsDrywall Repair
Cracks, pops, dents, loose tape and broken corners put right.
DetailsDrywall Finishing
Level 4 and Level 5 finishes, skim coats and texture.
DetailsGet a price for residential drywall in Waukesha
Describe the job, add a photo, and we will send a written estimate.